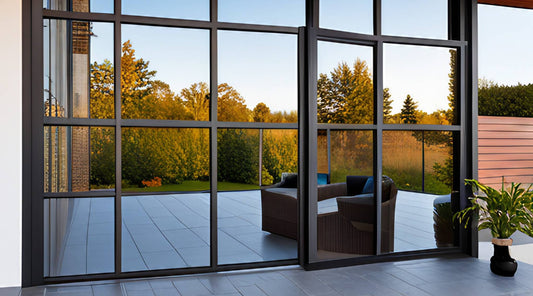
Are you struggling to maintain your home’s privacy without sacrificing natural light or aesthetics? You’re not alone—many homeowners face this challenge, yearning for a solution that balances privacy with style. Fortunately, achieving perfect privacy control with residential window films is simpler than you might think. By following these five straightforward steps, you can transform your living space into a serene sanctuary where prying eyes are kept at bay, while still enjoying beautiful, light-filled rooms. Just like how these steps helped us secure complete privacy for a client’s home, enhancing their comfort and peace of mind, they can do the same for you. Ready to take control? Let’s dive into the process!
Step 1: Assess Your Privacy Needs
Before diving into the world of window films, it’s crucial to understand your specific privacy requirements. Start by evaluating the areas in your home that need additional privacy. Are you looking to shield your bathroom from curious glances, or perhaps you want to keep your living room shielded from the street outside? Identifying these zones will help you choose the right type of window film.
Consider the level of privacy you desire for each space. Some areas, like bathrooms, might benefit from frosted films that obscure visibility completely. On the other hand, spaces like your office may only need a semi-transparent solution to keep out the prying eyes without completely blocking the view. Think about the time of day when privacy is most needed—do you need daytime privacy, or are you more concerned about night-time visibility?
Assessing your privacy needs also involves considering the aesthetics of your home. You want a solution that not only provides privacy but also complements your décor. By carefully evaluating your privacy requirements, you set the stage for choosing a window film that perfectly aligns with both your practical and aesthetic needs.
Step 2: Choose the Right Window Film
Selecting the right window film is pivotal to achieving your desired level of privacy. Window films come in various types, each designed to address different privacy needs and preferences. Let’s explore the main options available:
Frosted Films: Ideal for spaces where complete privacy is essential, such as bathrooms or bedrooms. Frosted films create a frosted glass effect, making it impossible to see through while still allowing light to pass through. They’re perfect for creating a soft, elegant look while maintaining privacy.
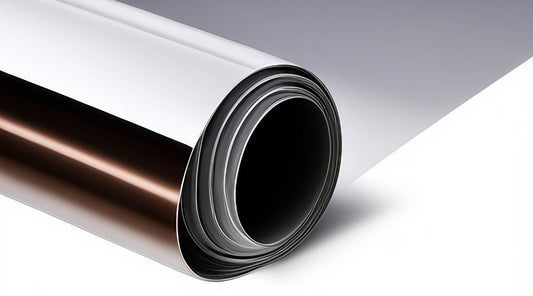
Reflective Films: These films provide a mirror-like surface on the outside of your windows, effectively blocking views from the outside while still letting you see out. Reflective films are excellent for homes where you want to keep prying eyes at bay during the day but are less effective at night.
Patterned Films: If you want to combine privacy with a touch of style, patterned films are a great choice. They come in various designs and patterns, offering a unique look while obscuring visibility.
Evaluate the light levels in each room and how much natural light you want to retain. For instance, if you want to keep your space bright and airy while maintaining privacy, opt for films that offer a balance between translucency and opacity.
Step 3: Measure and Prepare Your Windows
Proper measurement and preparation are key to a successful window film installation. Start by measuring the dimensions of each window where you plan to apply the film. Accurate measurements ensure that you purchase the correct amount of film and avoid any costly mistakes.
Use a measuring tape to record the height and width of each window. Double-check your measurements to make sure they are precise. It’s helpful to write down your measurements or use a digital tool to keep track of them.
Preparing the window surface is equally important. Clean the windows thoroughly to remove any dust, dirt, or grease. A clean surface ensures that the film adheres properly and lasts longer. Use a glass cleaner and a lint-free cloth to wipe down the windows. For stubborn grime, a mild soap solution may be needed. Once the windows are dry and spotless, you’re ready to proceed with the installation. Proper preparation will make the application process smoother and more effective.
Step 4: Apply the Window Film
Applying window film might seem like a daunting task, but with a little patience and the right technique, it can be straightforward. Start by cutting the window film to match the size of your window, adding a bit of extra film around the edges to ensure complete coverage.
Peel off the backing of the film carefully, making sure not to touch the adhesive side. Position the film against the window, starting at one edge and slowly working your way across. It’s helpful to have a second person assist with the placement to avoid wrinkles or bubbles.
Once the film is in place, use a squeegee or a similar tool to smooth out any air bubbles or wrinkles. Work from the centre outwards to ensure an even application. If you encounter any stubborn bubbles, a small needle can be used to gently release the trapped air. Trim any excess film around the edges for a clean finish. Allow the film to set and adhere properly before cleaning the windows or using them.
Step 5: Maintain and Care for Your Window Films
To keep your window films looking their best and functioning properly, regular maintenance is essential. Start by avoiding harsh chemicals or abrasive materials when cleaning your films. Use a mild, non-abrasive glass cleaner and a soft cloth to gently wipe the surface.
It’s important to avoid using ammonia-based cleaners, as they can damage the film over time. Instead, opt for cleaners that are specifically designed for window films or that are recommended by the manufacturer.
Regularly check for any signs of peeling or lifting around the edges of the film. If you notice any issues, address them promptly to prevent further damage. Keeping your window films clean and well-maintained will ensure they continue to provide excellent privacy and enhance the look of your home for years to come.
Achieving perfect privacy control with residential window films is a straightforward process when you follow these five simple steps. By assessing your needs, choosing the right film, measuring accurately, applying the film correctly, and maintaining it properly, you can enhance your home’s privacy while adding a touch of style. These steps not only ensure that you enjoy a more private living space but also protect your interiors from prying eyes.
Frequently Asked Questions
What types of window films are best for privacy?
Frosted films offer complete privacy, reflective films block views from outside during the day, and patterned films combine privacy with style. Choose based on your specific needs and room function.
How do I measure my windows for window film?
Use a measuring tape to record the height and width of each window, ensuring accuracy to avoid ordering incorrect film sizes. Double-check measurements for precision.
Can I install window film myself, or should I hire a professional?
While DIY installation is possible, hiring a professional ensures precise application and avoids common mistakes like bubbles and wrinkles, especially for large or complex windows.
How do I clean and maintain window films?
Clean window films with a mild, non-abrasive glass cleaner and a soft cloth. Avoid ammonia-based cleaners, as they can damage the film over time.
How long does window film typically last?
With proper care and maintenance, window films can last 5-10 years. The lifespan can vary depending on the film type, installation quality, and environmental factors.


