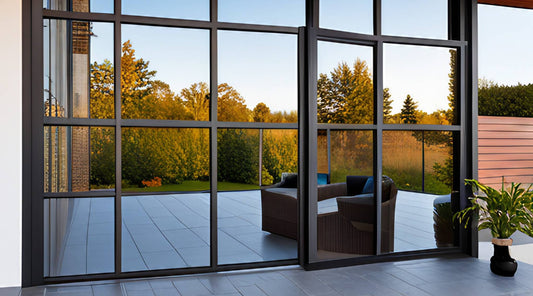
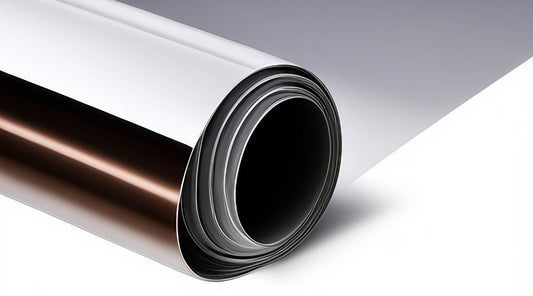
Are you looking to enhance your home’s curb appeal but aren’t sure where to start? Front door window films might just be the simple solution you need! By following these five easy steps, you can transform your front entrance into a stylish, eye-catching focal point without the need for costly renovations. Imagine this: after applying these steps, one of our customers saw their front door go from plain to wow, instantly improving their home’s look and increasing its value. The best part? They did it all in just one weekend. Keep reading to learn how these straightforward steps can work wonders for your home’s exterior!
Step 1: Assess Your Front Door’s Current Appearance
Before diving into any upgrades, take a moment to assess your front door’s current state. Understanding what you’re working with will help you make more informed decisions. Look at the glass—do you see any chips, cracks, or scratches? A smooth, clean surface is essential for the film to stick properly. Think about the style of your door—whether it’s modern or traditional, the window film you choose should complement your door’s design.
Next, think about how your front door is used. Do you need more privacy? Maybe you live on a busy street and want to shield your home from prying eyes. Or, perhaps, you’re more concerned about UV protection to prevent fading on your floors and furniture. This step isn’t just about aesthetics; it’s also about what benefits you want to gain from the film. Once you understand your door’s look and what it needs, you’ll be ready to pick the perfect window film.
Step 2: Choose the Right Window Film for Your Needs
Choosing the right window film is essential to balancing both style and function. With so many options available, it’s easy to feel overwhelmed. But narrowing it down is easier than you think. First, decide whether you want a decorative film or one with a specific function, like heat-blocking or increased privacy.
If privacy is a top priority, go for frosted or tinted films. These films allow light in but keep things hidden from view. If you prefer a sleek, modern look, you might want a reflective or mirrored film, which adds both privacy and curb appeal. For those concerned about UV rays, a clear, UV-blocking film is the way to go. This option won’t change the appearance of your front door but will protect your interior from the harmful effects of UV rays, keeping your furniture and flooring looking fresh for longer.
Additionally, if heat reduction is important, some window films are designed to keep the inside of your home cooler by blocking solar heat. Choosing the right film means thinking about both the look you want and the functional benefits that are important to you.
Step 3: Clean and Prepare the Surface
This is a step you don’t want to skip! For the best results, your glass surface needs to be completely clean. Any dirt, dust, or grime left on the glass will interfere with the film’s adhesive, causing bubbles or an uneven finish. Start by wiping down the window with a mild cleaner. Don’t forget to clean around the edges and the door frame as well, as dust in these areas can impact the film application.
For a deeper clean, use a vinegar-and-water solution or a dedicated glass cleaner with a lint-free cloth. After cleaning, use a squeegee to ensure the glass is dry and streak-free. You want the surface to be as smooth and spotless as possible. If there’s any hardware on your door, like a handle or lock, cover it with painter’s tape to prevent damage during the process. Once everything is cleaned and prepped, your door is ready for the window film to be applied.
Step 4: Install the Window Film with Precision
Here comes the fun part: applying the window film! Start by carefully measuring the window to make sure the film will fit perfectly. If needed, trim the film slightly, leaving a bit of extra material around the edges for a better fit.
Next, spray a mixture of water and a few drops of dish soap on the glass. This will help you adjust the film without it sticking right away. Slowly peel the backing from the film and apply it to the wet glass surface. Now, use a squeegee to push out any air bubbles, starting from the middle and working your way to the edges. Be gentle yet firm—this step is crucial to avoid wrinkles or distortions in the film.
Once the film is applied and aligned, trim away any excess with a utility knife. Take your time to ensure the edges are clean and even. A polished, smooth finish will make your front door look professionally done. Once you’re satisfied, go over the film with the squeegee one last time to ensure everything is perfectly smooth.
Step 5: Maintain and Care for Your Front Door Window Film
To make sure your new window film stays looking great for years, regular maintenance is essential. After installation, give the film at least 24 hours to fully adhere to the glass. Avoid cleaning it during this time to allow it to set properly.
Once the film has cured, clean it using a soft cloth and a mild glass cleaner. Avoid using abrasive sponges or harsh chemicals, as these can damage the film. It’s also a good idea to check the film every few months for signs of wear or damage, such as peeling or discolouration. Catching small issues early can help prevent bigger problems later on.
To keep your window film in top shape, try to protect it from extreme heat and direct sunlight, which can cause it to fade over time. A little TLC will ensure your window film stays looking fresh and continues to offer all the benefits of window films—like privacy, UV protection, and energy efficiency—that you installed it for.
In just five simple steps, you can transform your home’s front door with window films that enhance its appearance and provide practical benefits. From boosting your curb appeal to protecting your home from UV rays, these easy steps will make a big difference.
For more tips on improving your home, check out our other posts—your dream home makeover is just a click away!


